
Manually add a new contact to your GGMS CRM from any screen, and assign it to the right agent and website.
What you’ll need
- A login to your GGMS CRM
- The contact’s full name and email address
- Owner permissions, if you want to assign the contact to someone else on your team
- About 2 minutes
Step by step
- Open the new contact form
From any screen, click New Contact in the top header. If you’re already on the Contacts page, you can also click New Contact next to Import. Both buttons open the same form.
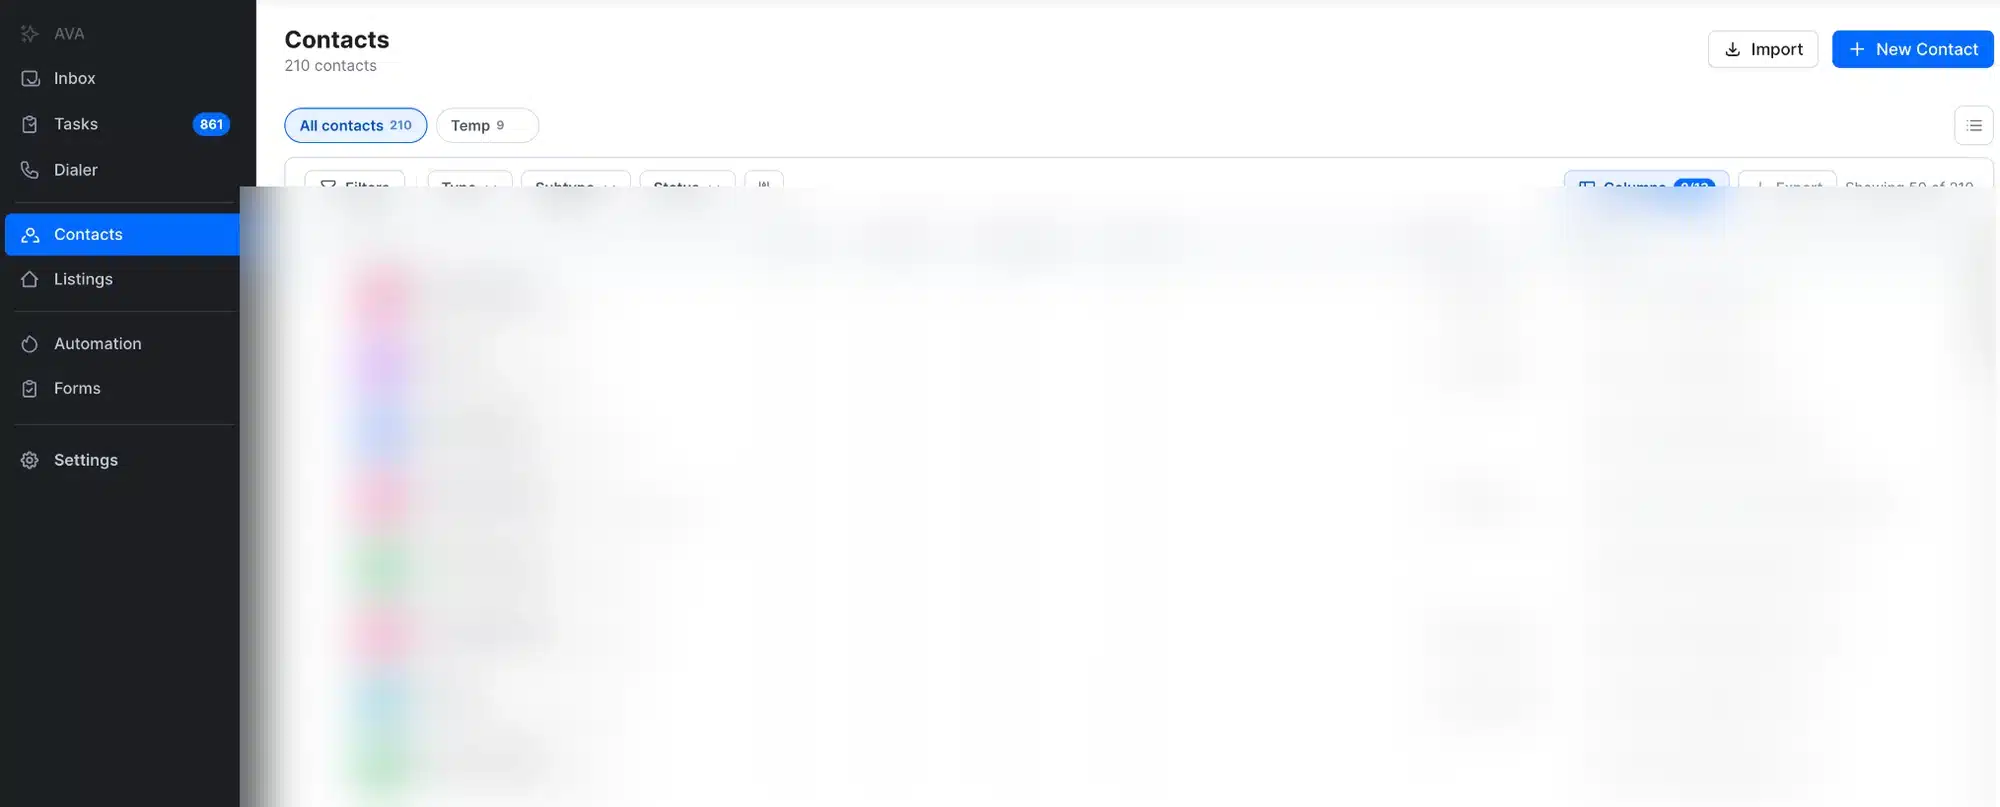
On the Contacts page, New Contact is next to Import. - Enter the full name
In Full name, type the contact’s first and last name. - Enter the email address
In Email, type the contact’s email address. You can’t manually create a contact without one. - Add a phone number
If you have the contact’s phone number, choose the country and type the number in Phone. - Choose the type, status, subtype, and source
Select an option from each list: Type, Status, Subtype, and Source. These help you sort and filter your contacts later.
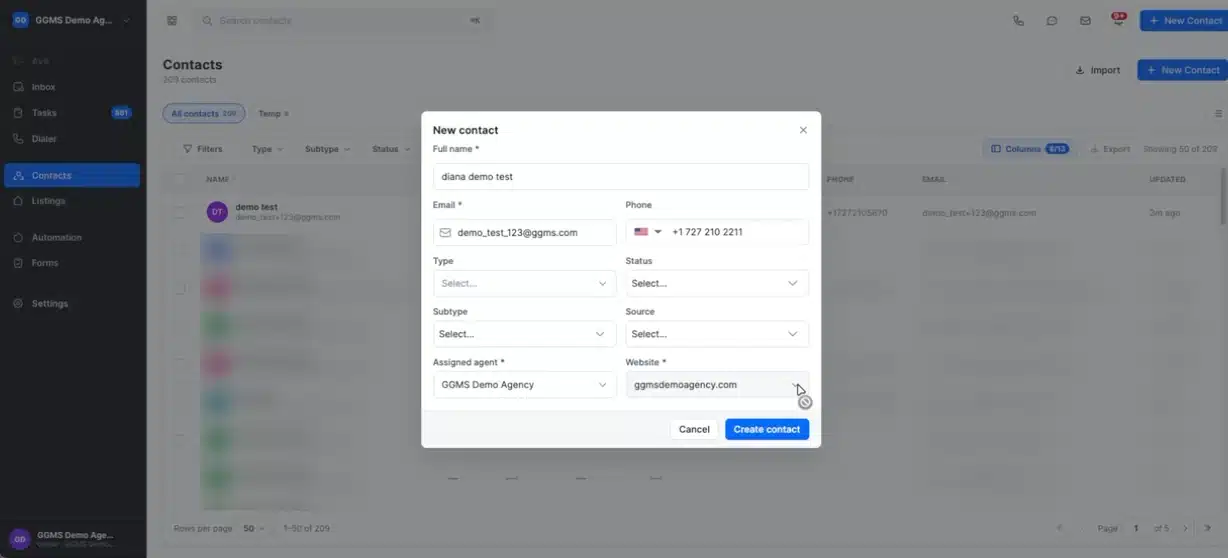
Fields marked with an asterisk are required. - Check the assigned agent
Assigned agent is set to you by default. If you have owner permissions, you can choose anyone on your team instead. - Choose the website
If you have more than one website, select the domain this contact belongs to in Website. - Create the contact
Click Create contact. A message confirms: A new contact was created.
Important
Email is required for every contact you add manually. If you only have a phone number, you won’t be able to save the contact until you add an email address.
What happens next
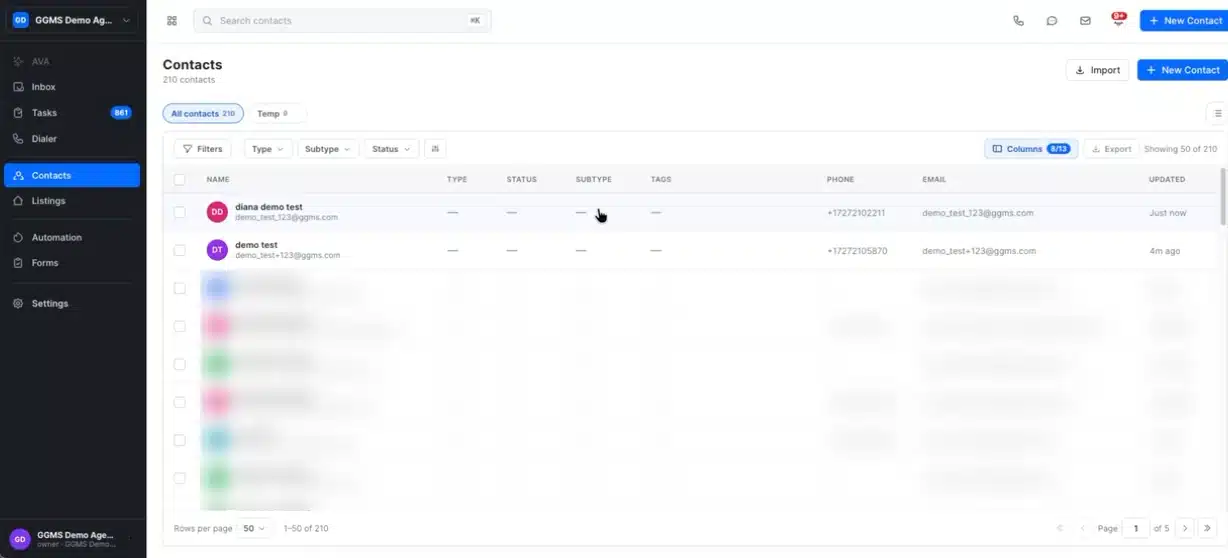
Your new contact appears at the top of your Contacts list. From there, you can open it to add more details, or use Type, Subtype, and Status to filter it alongside your other contacts.
Tip
Adding a lot of contacts at once? Import your contacts instead of entering each one manually.
Troubleshooting
The Create contact button doesn’t work
Check that Full name, Email, Assigned agent, and Website are filled in. These fields are required and are marked with an asterisk.
I can’t change the assigned agent
Only users with owner permissions can assign a contact to someone else. Ask your team owner to change it, or to update your permissions.